
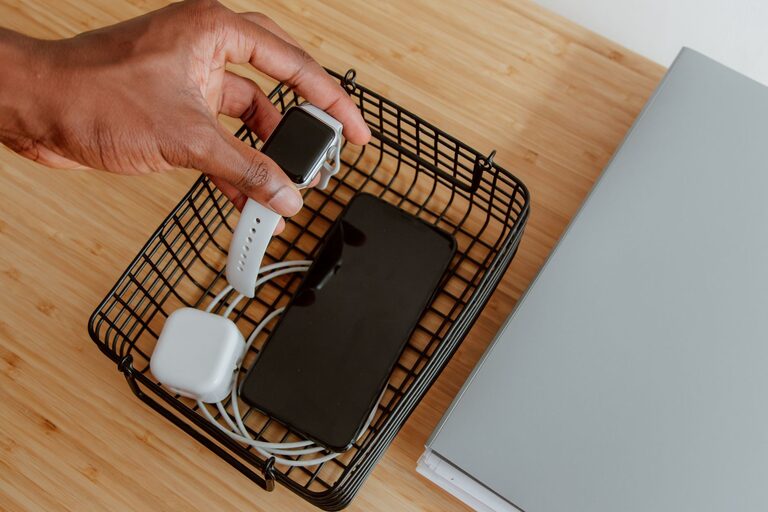
Setting up a dedicated charging station for your devices can make life easier and keep your space neat. Whether you have smartphones, tablets, wireless earbuds, or smartwatches, managing all the chargers and cords can get messy. This guide will walk you through the essentials of creating an efficient and organized charging station for your home or office.
Why Have a Charging Station?
With more gadgets than ever, charging multiple devices can create clutter. A charging station helps by:
– Centralizing all devices in one spot
– Reducing tangled cords and lost chargers
– Making it easy to see what’s charged or still charging
– Protecting your devices by using proper chargers in a controlled area
Choose the Right Location
Before setting up, pick a good spot for your charging station. Consider:
– Accessibility: Choose a place where you spend time or pass by often, like a desk, kitchen counter, or nightstand.
– Power sources: The spot should have easy access to outlets or a power strip.
– Ventilation: Devices generate heat while charging, so avoid enclosed spaces.
– Safety: Keep it away from water sources and out of children’s reach if possible.
Gather Essential Supplies
Here’s what you’ll need to build your charging station:
– Charging hub or power strip: A multi-port USB charger or power strip with surge protection works best.
– Cable management accessories: Cable clips, ties, or sleeves keep cords tidy.
– Device holders or stands: Optional, but helpful for organizing devices while charging.
– Storage box or tray: To hold chargers, cables, and small accessories.
– Labels or markers: Useful for identifying cables and ports.
Step-by-Step Setup
1. Assess Your Devices and Chargers
Make a list of all devices you want to charge—phones, tablets, earbuds, smartwatches, etc. Check which chargers and cables you currently have and their types (USB-A, USB-C, Lightning, etc.).
2. Choose a Charging Hub
Using a single charging station with multiple USB ports reduces the number of outlets you need. Look for chargers that:
– Support fast charging (if your devices do)
– Include enough ports for your devices plus a few extras
– Have safety ratings and surge protection
3. Prepare the Area
Clear the chosen spot and wipe it clean. Position the power strip or charging hub near the outlet.
4. Organize Cables
Use cable clips or ties to separate and arrange cables by length or device. Avoid long tangled cords by trimming or using shorter cables where possible. Label cables if you have many that look similar.
5. Add Device Holders
If you like, place holders or stands on the surface to hold smartphones or tablets upright while charging. This keeps devices visible and prevents them from sliding around.
6. Store Extras
Keep spare batteries, power banks, or less frequently used chargers in a drawer or box nearby to keep the area clutter-free.
Tips for Maintaining Your Charging Station
– Regularly check cables and chargers for wear and tear.
– Unplug devices when fully charged to conserve energy.
– Update chargers to match your devices as technology evolves.
– Keep the station dust-free with regular cleaning.
Alternative Charging Station Ideas
– Wall-mounted stations: Perfect for saving surface space.
– Furniture with built-in charging: Some desks or nightstands have integrated USB ports.
– Portable stations: Great for traveling or shared spaces.
Final Thoughts
A well-organized charging station saves time, reduces clutter, and keeps your devices ready to go. By planning your setup carefully and using quality components, you can enjoy a neat and efficient charging area that fits your lifestyle.
Remember, the key is to keep it simple and accessible. Start small and expand as needed. Happy charging!